Embedding a Jupyter Notebook in a Blog
TLDR: Embedding Jupyter Notebooks in a blog using Starboard, a tool for creating shareable in-browser notebooks, involves creating a Starboard notebook using the
<starboard-embed>custom element. This enhances interactive learning, real-time code execution, shareable content, user engagement, and documentation, providing a rich, interactive learning experience and making content more engaging and informative.
Introduction
When we learn about a new concept using programming, it is fun to have a code snippet that is runnable and editable. It is even better to have a code snippet that is interactive and can be shared easily. One of the ways to achieve this is by using Jupyter Notebook.
Jupyter Notebook is a web-based interactive computing platform that allows users to create and share documents that contain live code, equations, visualizations, and narrative text. It is widely used in data science, machine learning, and scientific research for its ease of use and ability to combine code and documentation in a single document.
Most of the time, the Jupyter Notebook is used in the local environment and it can be shared in a web environment as well. However, it is not as easy as sharing a static HTML page. Currently, most Jupyter Notebooks are available on a platform that allows sharing such as Google Colab, Kaggle, or JupyterHub. Embedding a Jupyter Notebook in a blog can be a great way to share interactive code examples, tutorials, and data analysis with the readers.
In this blog post, we will explore how to embed a Jupyter Notebook in a blog using Starboard, which allows you to create shareable in-browser notebooks.
Setup
To embed a Jupyter Notebook in a blog, we will use Starboard, which allows you to create and share interactive notebooks directly in the browser. Starboard notebooks are written in a format called the “percent format”, which is a human-readable and editable format that can be converted to Jupyter Notebooks.
Here are the steps to embed a Jupyter Notebook in a blog using Starboard:
1. Create a Starboard Notebook
First, create a Starboard notebook using the percent format. You can write code cells in Python, JavaScript, or Markdown, and include text cells for documentation.
for example,
# %% [markdown]
# This is a markdown cell

# %% [python]
# This is a Python code cell
print("Hello, World!")
2. Embed the Starboard Notebook
To embed the Starboard notebook in your blog, you can use the <starboard-embed> custom element provided by Starboard. This element allows you to include a Starboard notebook directly in your blog post.
To use it we need to import starboard-wrap which provide the custom element.
<script type="module">
  import {StarboardEmbed} from "https://unpkg.com/starboard-wrap/dist/index.js";

  customElements.define("starboard-embed", StarboardEmbed);
</script>
After importing the StarboardEmbed custom element, you can use it in your blog post to embed a Starboard notebook.
<starboard-embed>
  <script type="starboard">
# %% [markdown]
# This is a markdown cell

# %% [python]
# This is a Python code cell
print("Hello, World!")
  </script>
</starboard-embed>
Notice that the notebook content is aligned to the left. This is because Starboard Notebook is sensitive to the indentation. Make sure to align the content to the left. If you want to know what I mean, feel free to play with the full HTML code in this replit. Happy Experimenting.
3. Display the Starboard Notebook
When you view your blog post, the Starboard notebook will be displayed as an interactive notebook that users can run, edit, and share. Users can execute code cells, view the output, and interact with the notebook in real-time.
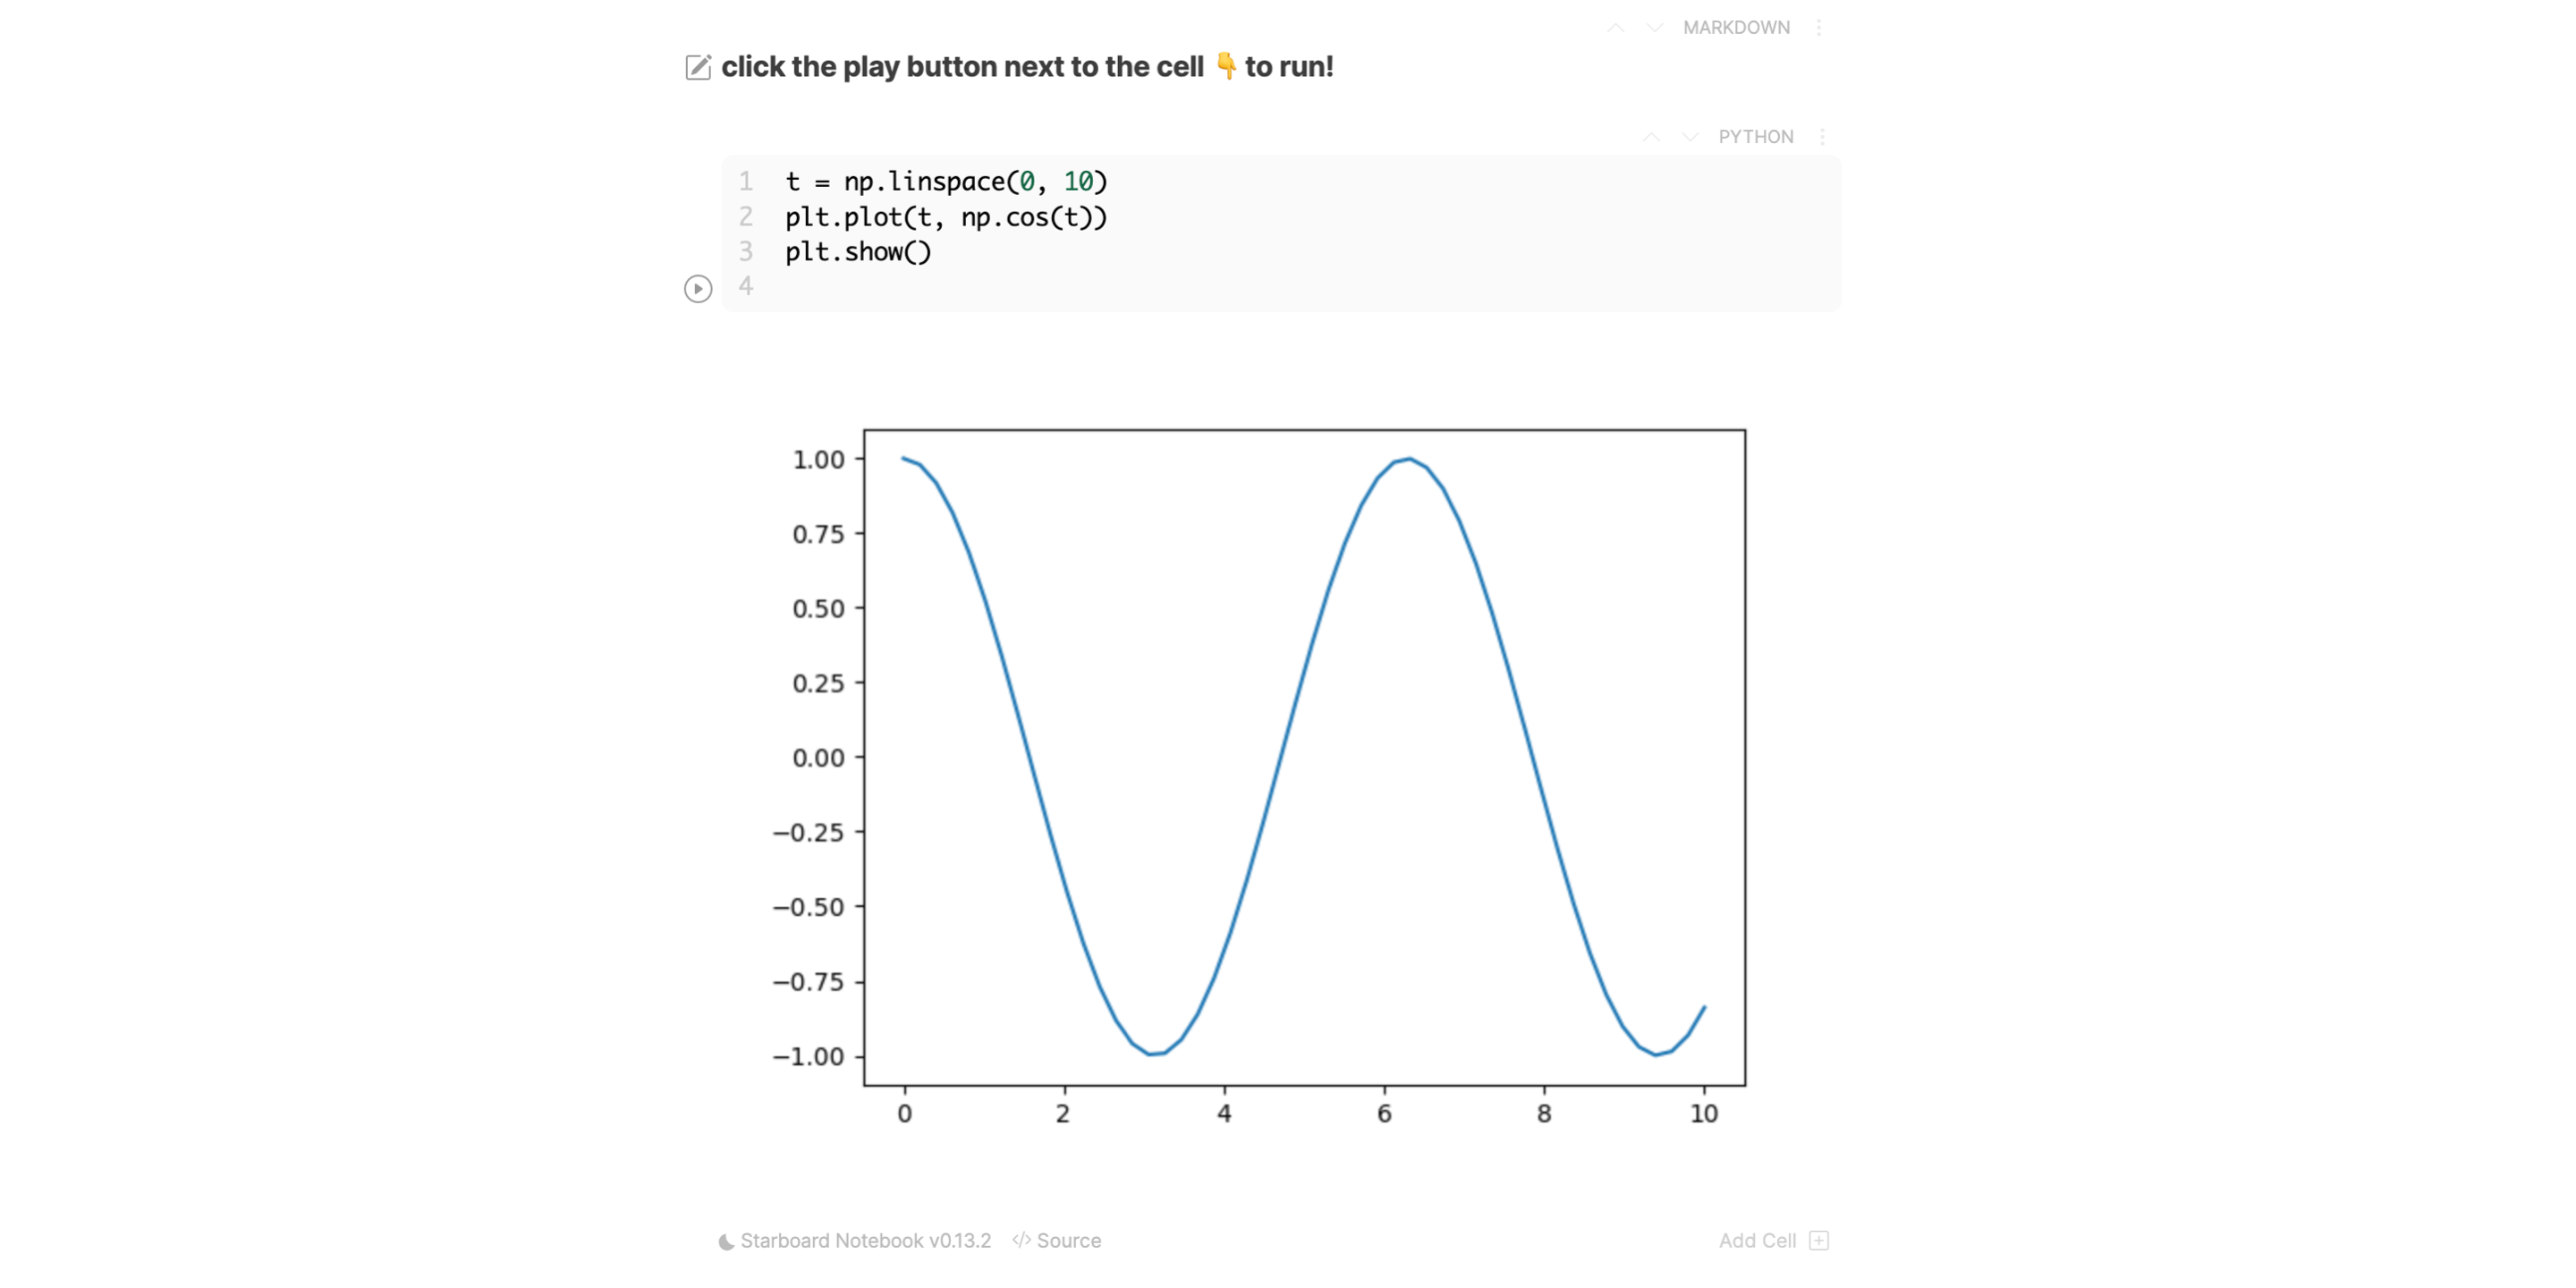
Here is the result:
The readers can get the notebook using the </> Source button at the bottom of the Starboard.
Benefits
Embedding Jupyter Notebooks in a blog has several benefits:
-
Interactive Learning: Users can interact with the code examples directly in the blog post, making it easier to understand and learn from the content.
-
Real-time Code Execution: Users can run the code cells in the notebook and see the output in real-time, allowing them to experiment and explore different scenarios.
-
Shareable Content: Jupyter Notebooks are shareable and can be embedded in other websites or platforms, making it easy to distribute interactive content.
-
Engagement: Interactive content can increase user engagement and retention on the blog, as users can actively participate in the learning process.
-
Documentation: Jupyter Notebooks provide a rich format for combining code, text, and visualizations, making it easy to create detailed and informative tutorials and guides.
Conclusion
Embedding a Jupyter Notebook in a blog using Starboard is a powerful way to share interactive code examples, tutorials, and data analysis with your readers. By creating shareable in-browser notebooks, you can engage users with interactive content and provide a rich learning experience. Whether you are teaching programming concepts, demonstrating data analysis techniques, or sharing research findings, embedding Jupyter Notebooks in your blog can enhance the learning experience and make your content more engaging and informative.
If you are looking to share interactive code examples, tutorials, or data analysis in your blog, consider embedding a Jupyter Notebook using Starboard to create engaging and interactive content for your readers.
References
Embedding a Starboard Notebook
Starboard - The shareable in-browser notebook
Notebooks as code - The percent format
Demo
Here is a demo of Starboard Notebook